Wedding Rehearsal Ribbon Bouquet

I took a hiatus from my blog immediately prior to and following my wedding.  I got crazy busy, as I assume most brides can understand.  Now that all of the wedding craziness is over, I have so many things to post!  I made almost all of my wedding decorations and gifts.  I’m still waiting on my mom to send me my sister’s pictures (she was instructed to take pictures of everything I made for my blog), but there are a few things I can post in the mean time.  I plan to kind of go in chronological order as things were used during the wedding weekend.  Hopefully I don’t miss anything that way.

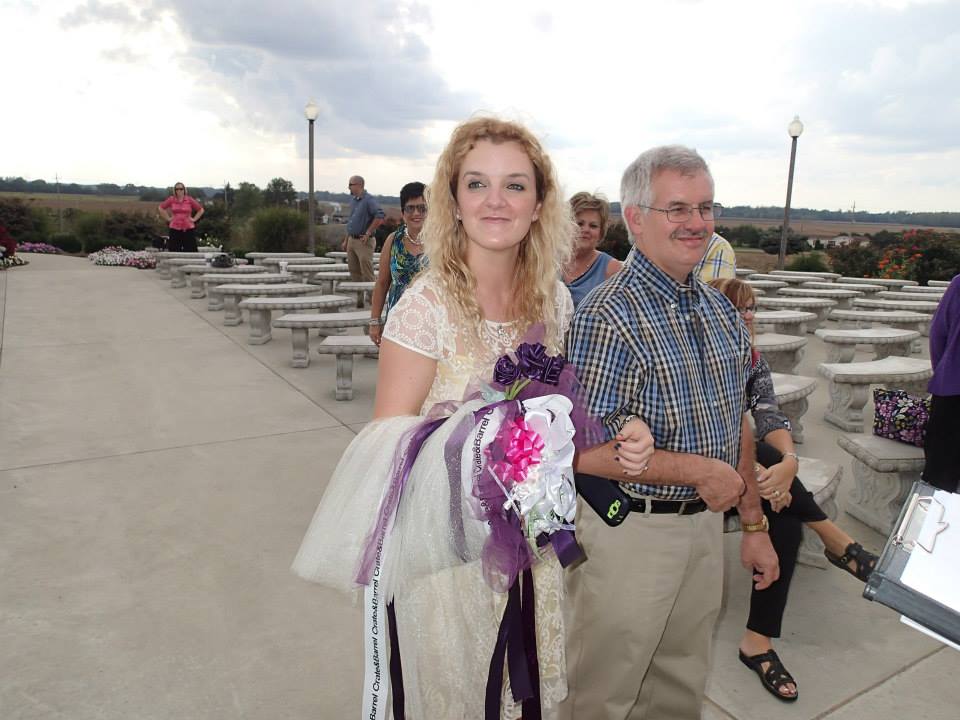
The first homemade item to make an appearance was my rehearsal bow-quet.  It’s been a long-standing tradition that a rehearsal bouquet be created from the ribbons from the wedding shower.  I made one.  I’m a little unhappy that this is going to be the first thing to go on the blog.  I ended up not having a ton of time to work on it and quickly threw it together the night before the rehearsal.  I do think the idea would be really cute if fully implemented.

Ribbon Bouquet 4 - Copy

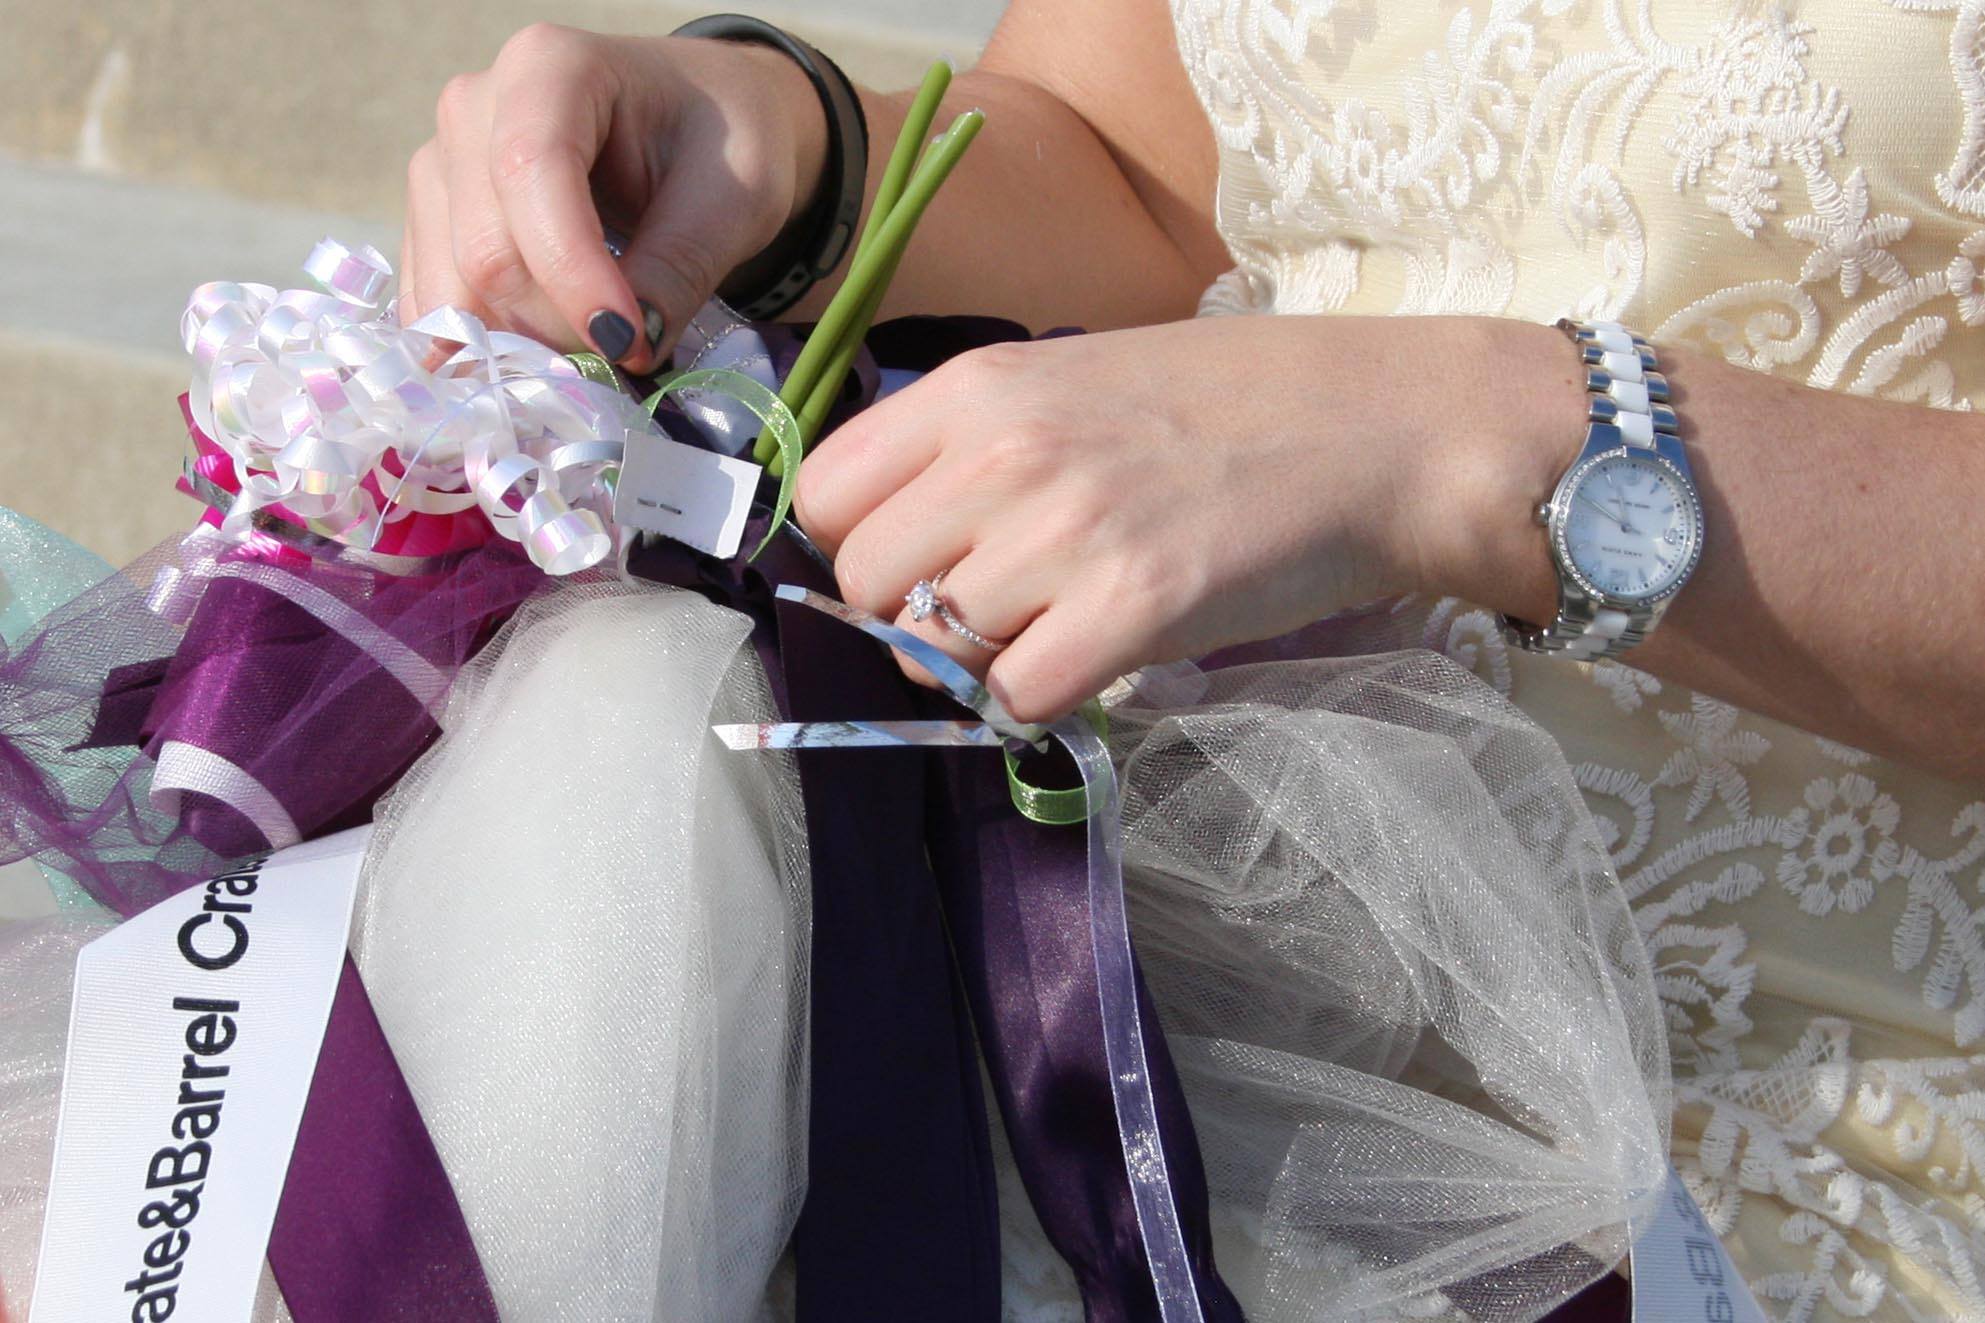
My goal was to make a whole bouquet of ribbon rosettes and wrap any leftover ribbons around the stems.  Since I was short on time, I only made three rosettes and wrapped the rest of the ribbons around.  The rosettes were overwhelmed by the other ribbons.

Materials:

Instructions:

  • Make the desired number of rosettes.  (I used the same technique to make the ribbon rosettes that was used to make the burlap rosettes in my Burlap Roses post.  The technique is described in Snug as a Bug Baby’s blog.  I honestly don’t think I can do a better job describing the technique than she does, and since I did it very last minute, I did not take the time to take pictures of every step.  For this project I used a needle and thread instead of hot glue.  The concept is the same, simply stitch each “petal” in place instead of gluing it.  The three rosettes turned out really cute.  I just wish that I had time to make more of them.)
  • Wrap the rosettes in any remaining ribbon

Difficulty:  Easy

Time Required:  10 minutes per rosette

Overall Experience:  Good.  I wish that I had time to make more rosettes

Ribbon Bouquet 4 Ribbon Bouquet 3 Ribbon Bouquet 2 Ribbon Bouquet 1

Crossroads Wall Art

For my boyfriend’s (now fiance’s) birthday in 2012, our friend Cassie had the idea to try to recreate a piece of wall art he had been admiring at Crate and Barrel that was no longer available for purchase.  She knew that I liked crafting, so she invited me over to help.  The original piece was made of welded steel.  Our idea was to recreate it using dowel rods.  The lighting in the picture isn’t great, but I loved the end product!

wallart

Here is the inspiration piece:

CrossroadsWallArtHorzS8

Materials:

  • About 20 1/4 inch dowel rods
  • Hot glue gun and glue
  • Saw, Dremel, etc. (Anything that can cut the dowel rods)
  • Spray paint

Instructions:

  • Leaving about eight of the dowel rods their original length, cut the others into pieces of varying sizes
  • Arrange half of the full-length rods horizontally parallel to one another.  These full-length rods will provide stability to your art.

wallart1

  • Arrange some of the shorter pieces parallel to the full-length pieces.

wallart2

  • Arrange the rest of the full-length pieces perpendicular to the horizontal pieces.  Make sure that the full-length pieces extend from the top to the bottom of your art.  These vertical pieces will provide stability to your art.

wallart3

  • Place the remaining pieces vertically parallel to the other vertical pieces.  Each individual rod should be supported perpendicularly in at least two places near that rod’s end.  Adjust placement as required.

wallart4

  • Hot glue each location where two rods cross one another.
  • Spray paint in the color of your choice.  We chose a dark gold-like color.

wallart


Difficulty:  Easy

Time Required:  Two Movies

Overall Experience:  Excellent


Burlap Roses

Shortly after Craig and I were engaged in December, one of my bridesmaids decided to throw us an engagement party.  The location she chose already had a rustic feel, so she wanted to go with the burlap and mason jar theme so popular on Pinterest.  I had pinned some burlap roses some time ago that I really wanted to try to make.  My original pin didn’t include a tutorial, so I went searching for a tutorial and found a great one on Snug as a Bug Baby’s blog.  The blog entry show step by step instructions for making beautiful burlap roses.  Each step even includes a picture for clarity.  If you choose to make these roses, here are my tips and suggestions:

  1. I didn’t actually know where to buy burlap since this was my first burlap craft project.  (I use it in concrete applications for research projects somewhat often.)  I discovered that you can buy it fairly cheap at Lowe’s or Home Depot.  This is very low quality, bulk burlap.  I ended up using this as the tablecloth at the party.  At JoAnn Fabric, I found all different colors of burlap and even burlap with different designs.  I picked up small amounts of several different types for decorating at the party.
  2. This project makes a huge mess.  You end up with burlap “strings” everywhere.  Be prepared to deal with that when you are finished.  It also smells like burlap.
  3. The tutorial does not explicitly say that you need to hot glue every petal.  It says to glue where needed.  Since hot glue does flow through the petals, I thought I might be able to get by with gluing every other petal.  This was a mistake.  Glue every petal.  Glue liberally.
  4. In the project, the crafter cuts strips of burlap.  Burlap ribbon is a thing (although I’ve never used it).  It might be worth trying the ribbon.  This would result in less mess and cleaner looking flowers.  I for one kind of like the “strings” coming off of the raw edge of the roses.  They add to the rustic feel.

This is once again a project I decided to do before the blog idea came into my head or I would have posted more pictures.  I love the way the flowers turned out.  The were a big hit at the party.  Many people came up to our table at the restaurant and asked where we got them.  The official restaurant photographer even took a picture of them and added it to the restaurant’s Facebook page!  After the party, I put all of the flowers in one mason jar and keep them on the coffee table in my living room.

Difficulty:  Easy

Time Required:  2 Movies

Overall Experience:  Good

Here are a few pictures of the party itself.  I love how the decorations turned out!